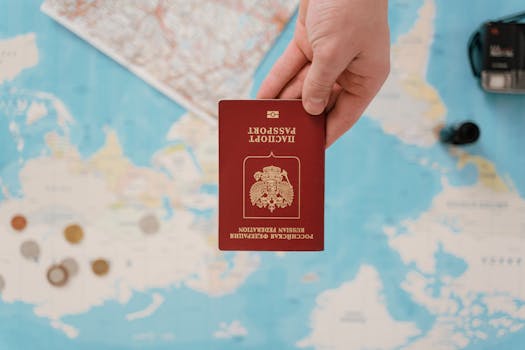
Thinking about visiting the US for a holiday, to see family, or for a business trip? The visa process can seem a bit overwhelming at first, but if you take it one step at a time, it's quite manageable. Let's walk through it together.
The Main Steps in the Process
Here’s the overall path you’ll follow. Don't worry, we'll break each one down.
- Complete the DS-160 application form online.
- Pay the visa application fee.
- Book your visa interview appointment.
- Gather all your supporting documents.
- Go to your interview at the US Embassy or Consulate.
A Closer Look at Each Step
1. Filling Out the DS-160 Form
This is your main application. You'll do it on the U.S. Department of State's website. Be ready with your passport, travel plans, and information about your work and past trips.
Tip: Be completely honest and accurate. It's a good idea to save the application ID they give you after you start, so you can come back to it if you need a break.
2. Paying the Visa Fee
After your DS-160, you'll need to pay the Machine Readable Visa (MRV) fee. The amount can change, so always check the latest fee on the official U.S. Travel State website. You can usually pay online or at designated banks.
3. Scheduling Your Interview
You'll schedule your interview through the website of the U.S. Embassy or Consulate in your country. Wait times for appointments can vary, so try to book as early as you can.
4. Getting Your Documents Ready
Being prepared is key. Here’s a basic checklist of what to bring:
- Your passport (valid for at least six months beyond your planned stay).
- The DS-160 confirmation page.
- Your interview appointment letter.
- A recent photo that meets the U.S. visa photo requirements.
- Proof of your job, income, or studies (like an employment letter or student ID).
- Evidence that you plan to return home (like property documents, family ties, or a letter from your employer).
5. Attending the Visa Interview
This is the final step. The consular officer will ask you a few questions about your trip, your plans in the U.S., and your life back home. The goal is to be confident, clear, and concise.
Good advice: Answer the questions you are asked directly. Don't volunteer extra information unless it's needed. Be ready to show your documents if asked.
Frequently Asked Questions
📚 Read Next


How long does the US tourist visa process take?
The time can vary a lot depending on how busy the embassy is. After your interview, if approved, it usually takes about a week to get your passport back with the visa. The whole process from application to getting your visa might take a few weeks to a couple of months.
What are common reasons for visa denial?
The most common reason is the officer not being convinced you will return to your home country after your visit. This could be due to weak ties to your home (like job, family, or property), unclear travel plans, or insufficient financial proof.
Can I check my visa application status online?
Yes, you can. After your interview, you can use your DS-160 number to check the status on the CEAC status check website.
I need to prepare documents. Are there tools that can help?
Absolutely! While preparing your evidence, you might need to handle PDFs or images. For example, you might need to compress a PDF to meet size limits for an online upload, or use a simple photo editor to ensure your picture meets the requirements. You can find many helpful utilities in our collection of free online tools.
Remember, the key is preparation and honesty. Take your time with each step, double-check your information, and go into your interview with confidence. Good luck with your application!