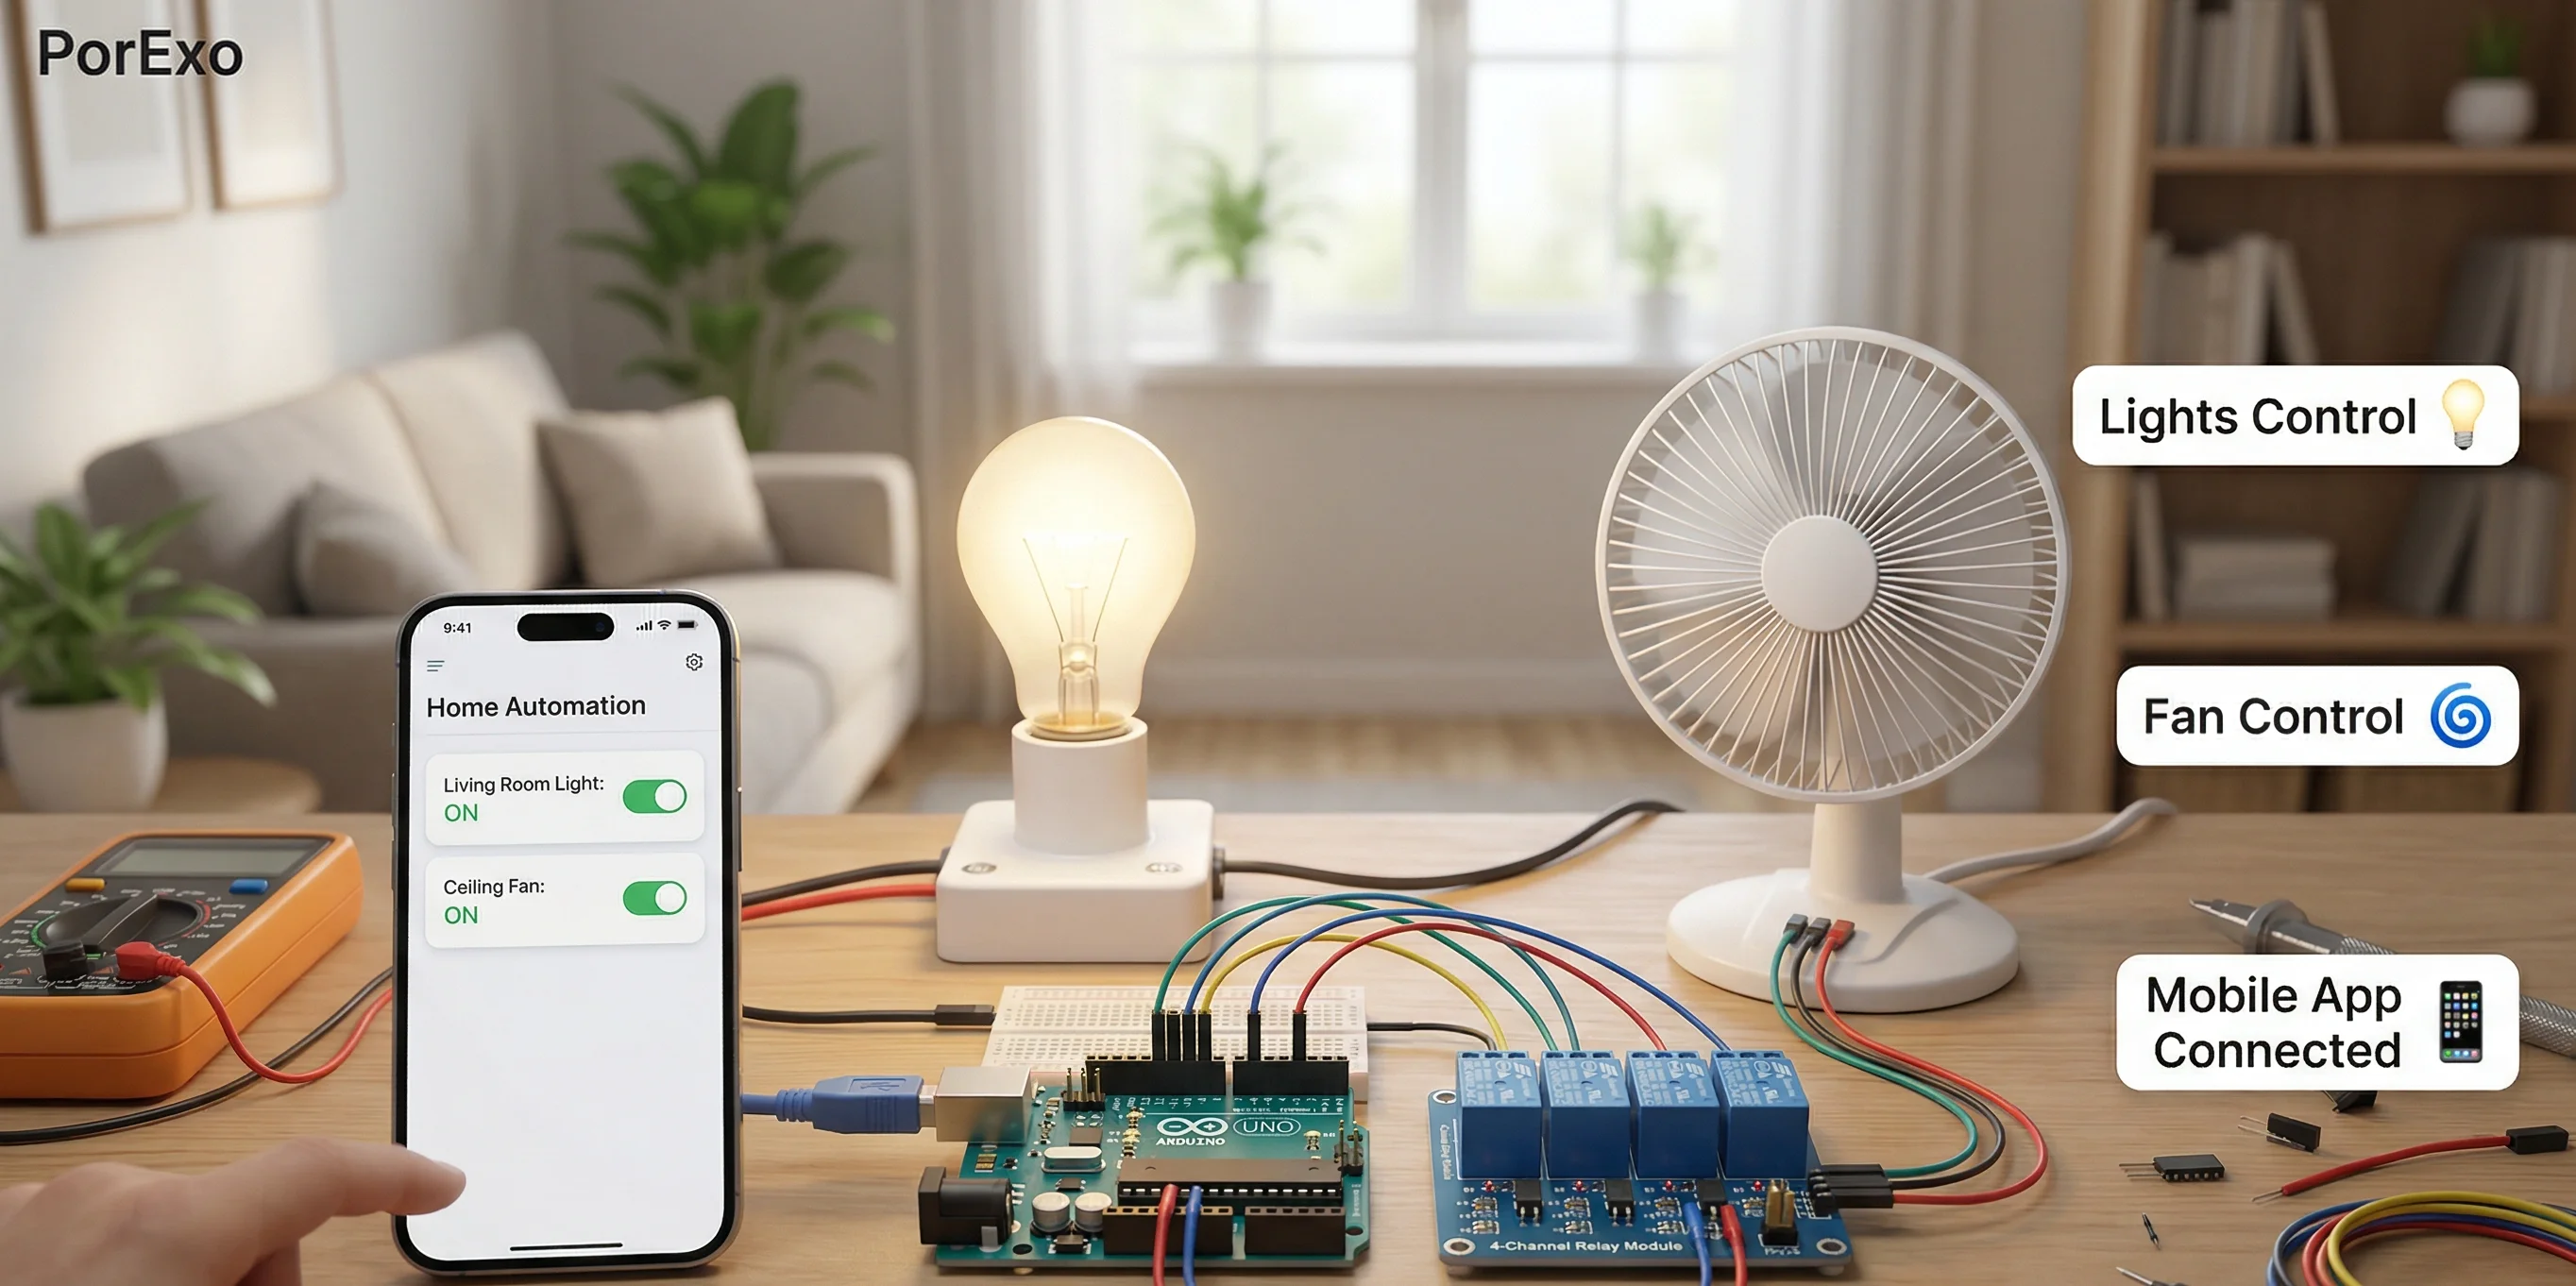
Thinking about making your home a bit smarter with an Arduino? It's a fun project that can help you control lights, fans, or other gadgets. Let's walk through the basics to get you started.
Key Points
- Pick an Arduino board that fits what you want to do. The Uno is a great starting point for most projects.
- Connect your Arduino to parts like relays (to switch devices on/off) or sensors (to detect things like light or motion).
- Write the code that tells your Arduino what to do, then upload it to the board.
- Test everything out. If something doesn't work, don't worry—checking your connections and code is part of the process.
Getting Started: What You'll Need
Before you jump in, it helps to have a few things ready. You don't need everything at once, but this list gives you an idea.
Handy Tools For You
- An Arduino Board: Like an Arduino Uno or Mega.
- Breadboard and Jumper Wires: For making connections without soldering.
- Relay Module: This lets your Arduino safely control household appliances.
- Some Sensors: Maybe a motion sensor (PIR) or a light sensor (LDR).
- A USB Cable: To connect your Arduino to your computer for programming.
- The Arduino Software (IDE): This is where you'll write and upload your code. You can get it for free from the official Arduino website.
Writing Your First Automation Code
Let's write a simple program. This example will turn a light on for 5 seconds, then off for 5 seconds, in a loop. It's the "Hello World" of hardware.
// Define the pin where the LED (or relay) is connected
int ledPin = 13;

void setup() {
  // Set the LED pin as an output
  pinMode(ledPin, OUTPUT);
}

void loop() {
  // Turn the LED on
  digitalWrite(ledPin, HIGH);
  // Wait for 5 seconds (5000 milliseconds)
  delay(5000);
  // Turn the LED off
  digitalWrite(ledPin, LOW);
  // Wait for another 5 seconds
  delay(5000);
}
To use this:
- Open the Arduino IDE on your computer.
- Paste the code above into a new sketch.
- Connect your Arduino via USB.
- Select the right board and port under the "Tools" menu.
- Click the upload button (the right arrow). The code will be sent to your board and start running.
Connecting a Relay to Control a Lamp
An LED is a good test, but to control a real lamp, you'll use a relay module. It acts like a switch your Arduino can flip.
- Connect the Relay: Hook the relay's input pin to a digital pin on your Arduino (like pin 7). Also connect its VCC and GND to your Arduino's 5V and GND pins.
- Connect the Appliance: IMPORTANT: Be very careful with mains electricity. Plug your lamp's wire into the relay's output terminals, so the relay breaks the circuit.
- Update the Code: In the example code above, just change
int ledPin = 13;toint relayPin = 7;and update all references fromledPintorelayPin.
For more complex projects, like controlling multiple devices, you might want to check out our guide on Multi Tools for other helpful utilities, or use a Text Editor to manage your code better.
Adding a Sensor for Smart Control
Automation gets really interesting when your system can react on its own. Let's add a motion sensor to turn a light on only when someone is in the room.
int motionSensorPin = 2; // Pin connected to the PIR sensor's output
int relayPin = 7;        // Pin connected to the relay

void setup() {
  pinMode(motionSensorPin, INPUT);
  pinMode(relayPin, OUTPUT);
  Serial.begin(9600); // Start communication to see readings
}

void loop() {
  int motionDetected = digitalRead(motionSensorPin);

  if (motionDetected == HIGH) {
    Serial.println("Motion Detected! Light ON.");
    digitalWrite(relayPin, HIGH); // Turn light on
  } else {
    Serial.println("No Motion. Light OFF.");
    digitalWrite(relayPin, LOW);  // Turn light off
  }
  delay(1000); // Check once per second
}
This code reads the sensor. If it detects motion, it turns the relay (and your light) on. You can watch the messages in the Serial Monitor (Tools > Serial Monitor) to see what's happening.
Frequently Asked Questions
📚 Read Next


Is Arduino safe for controlling home appliances?
Arduino itself uses safe, low-voltage DC power. The danger comes when connecting it to mains electricity (like your wall outlet). Always use a relay module or optocoupler designed for this purpose to isolate the Arduino from the high voltage. If you're unsure, practice with low-voltage devices like LEDs or small fans first. For creating diagrams of your setup, a tool like our Schema Generator can be helpful.
Can I control my Arduino system from my phone?
Yes, you can! You'll need to add a communication module like an ESP8266 Wi-Fi board or a Bluetooth module (like HC-05) to your Arduino. This allows it to connect to your home network or phone. Then you can write code to let it receive commands from a simple app you make or from messaging services.
What's the difference between Arduino and Raspberry Pi for home automation?
Think of Arduino as a simple, dedicated switchboard—it's great for reading sensors and controlling switches directly. A Raspberry Pi is a full mini-computer that can run an operating system (like Linux). It's better for complex tasks, like hosting a web interface or running multiple programs at once. Many people use both: the Arduino handles the physical devices, and the Raspberry Pi acts as the brain that tells the Arduino what to do.
Where can I find more project ideas and code?
The best place to start is the official Arduino Project Hub. It's full of examples shared by other makers. Forums like the Arduino Forum are also incredibly helpful when you get stuck. For managing project notes or code snippets, you might find our Text Editor useful.