Thinking about getting an ESP32 CAM module for your project? It's a fantastic little board that lets you add a camera to your electronics projects and connect it to Wi-Fi. If you're in India and want to know where to get it and how to get started, this guide is for you.
What is the ESP32 CAM?
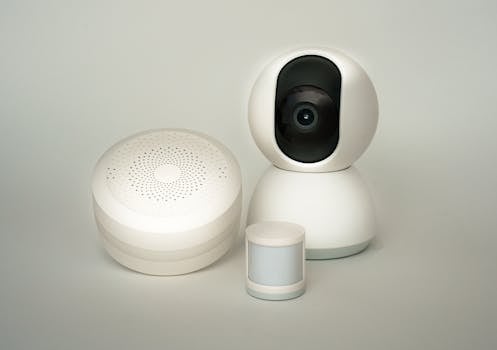
Imagine a tiny computer with a built-in camera and Wi-Fi. That's the ESP32 CAM. It's based on the popular ESP32 chip and is perfect for making things like a DIY security camera, a pet feeder with a live feed, or even a timelapse camera.
Handy Tools For You
ESP32 CAM Price in India (2024)
The price can vary depending on where you shop. Generally, you can find the basic ESP32 CAM module for between ₹400 and ₹700 on popular online stores like Amazon India, Robu.in, or ElectronicsComp.com. Sometimes you can find deals or bundles that include extra parts like an FTDI programmer, which you'll likely need.
Tip: Always check the seller's ratings and reviews before buying.
What You'll Need to Get Started
Here's a checklist of things you should have before you start:
- ESP32 CAM Module: The main board with the camera.
- FTDI Programmer (or USB-to-TTL Converter): This is crucial! The ESP32 CAM doesn't have a USB port, so you need this to connect it to your computer for programming. You can find these for around ₹200-₹300.
- Breadboard and Jumper Wires: To make the connections easily.
- 5V Power Supply: A good USB cable and a 5V/2A adapter is recommended, especially when you want to run it standalone.
- A Computer: With the Arduino IDE installed.
Step-by-Step Setup Guide
Let's walk through the basic steps to make your ESP32 CAM work. This is a simplified overview to give you an idea of the process.
Step 1: Install the ESP32 Board in Arduino IDE
First, you need to tell the Arduino software about the ESP32.
- Open Arduino IDE, go to File > Preferences.
- In the "Additional Boards Manager URLs" field, paste this URL:
https://raw.githubusercontent.com/espressif/arduino-esp32/gh-pages/package_esp32_index.json - Go to Tools > Board > Boards Manager, search for "esp32", and install the "ESP32 by Espressif Systems" package.
Step 2: Connect the Hardware
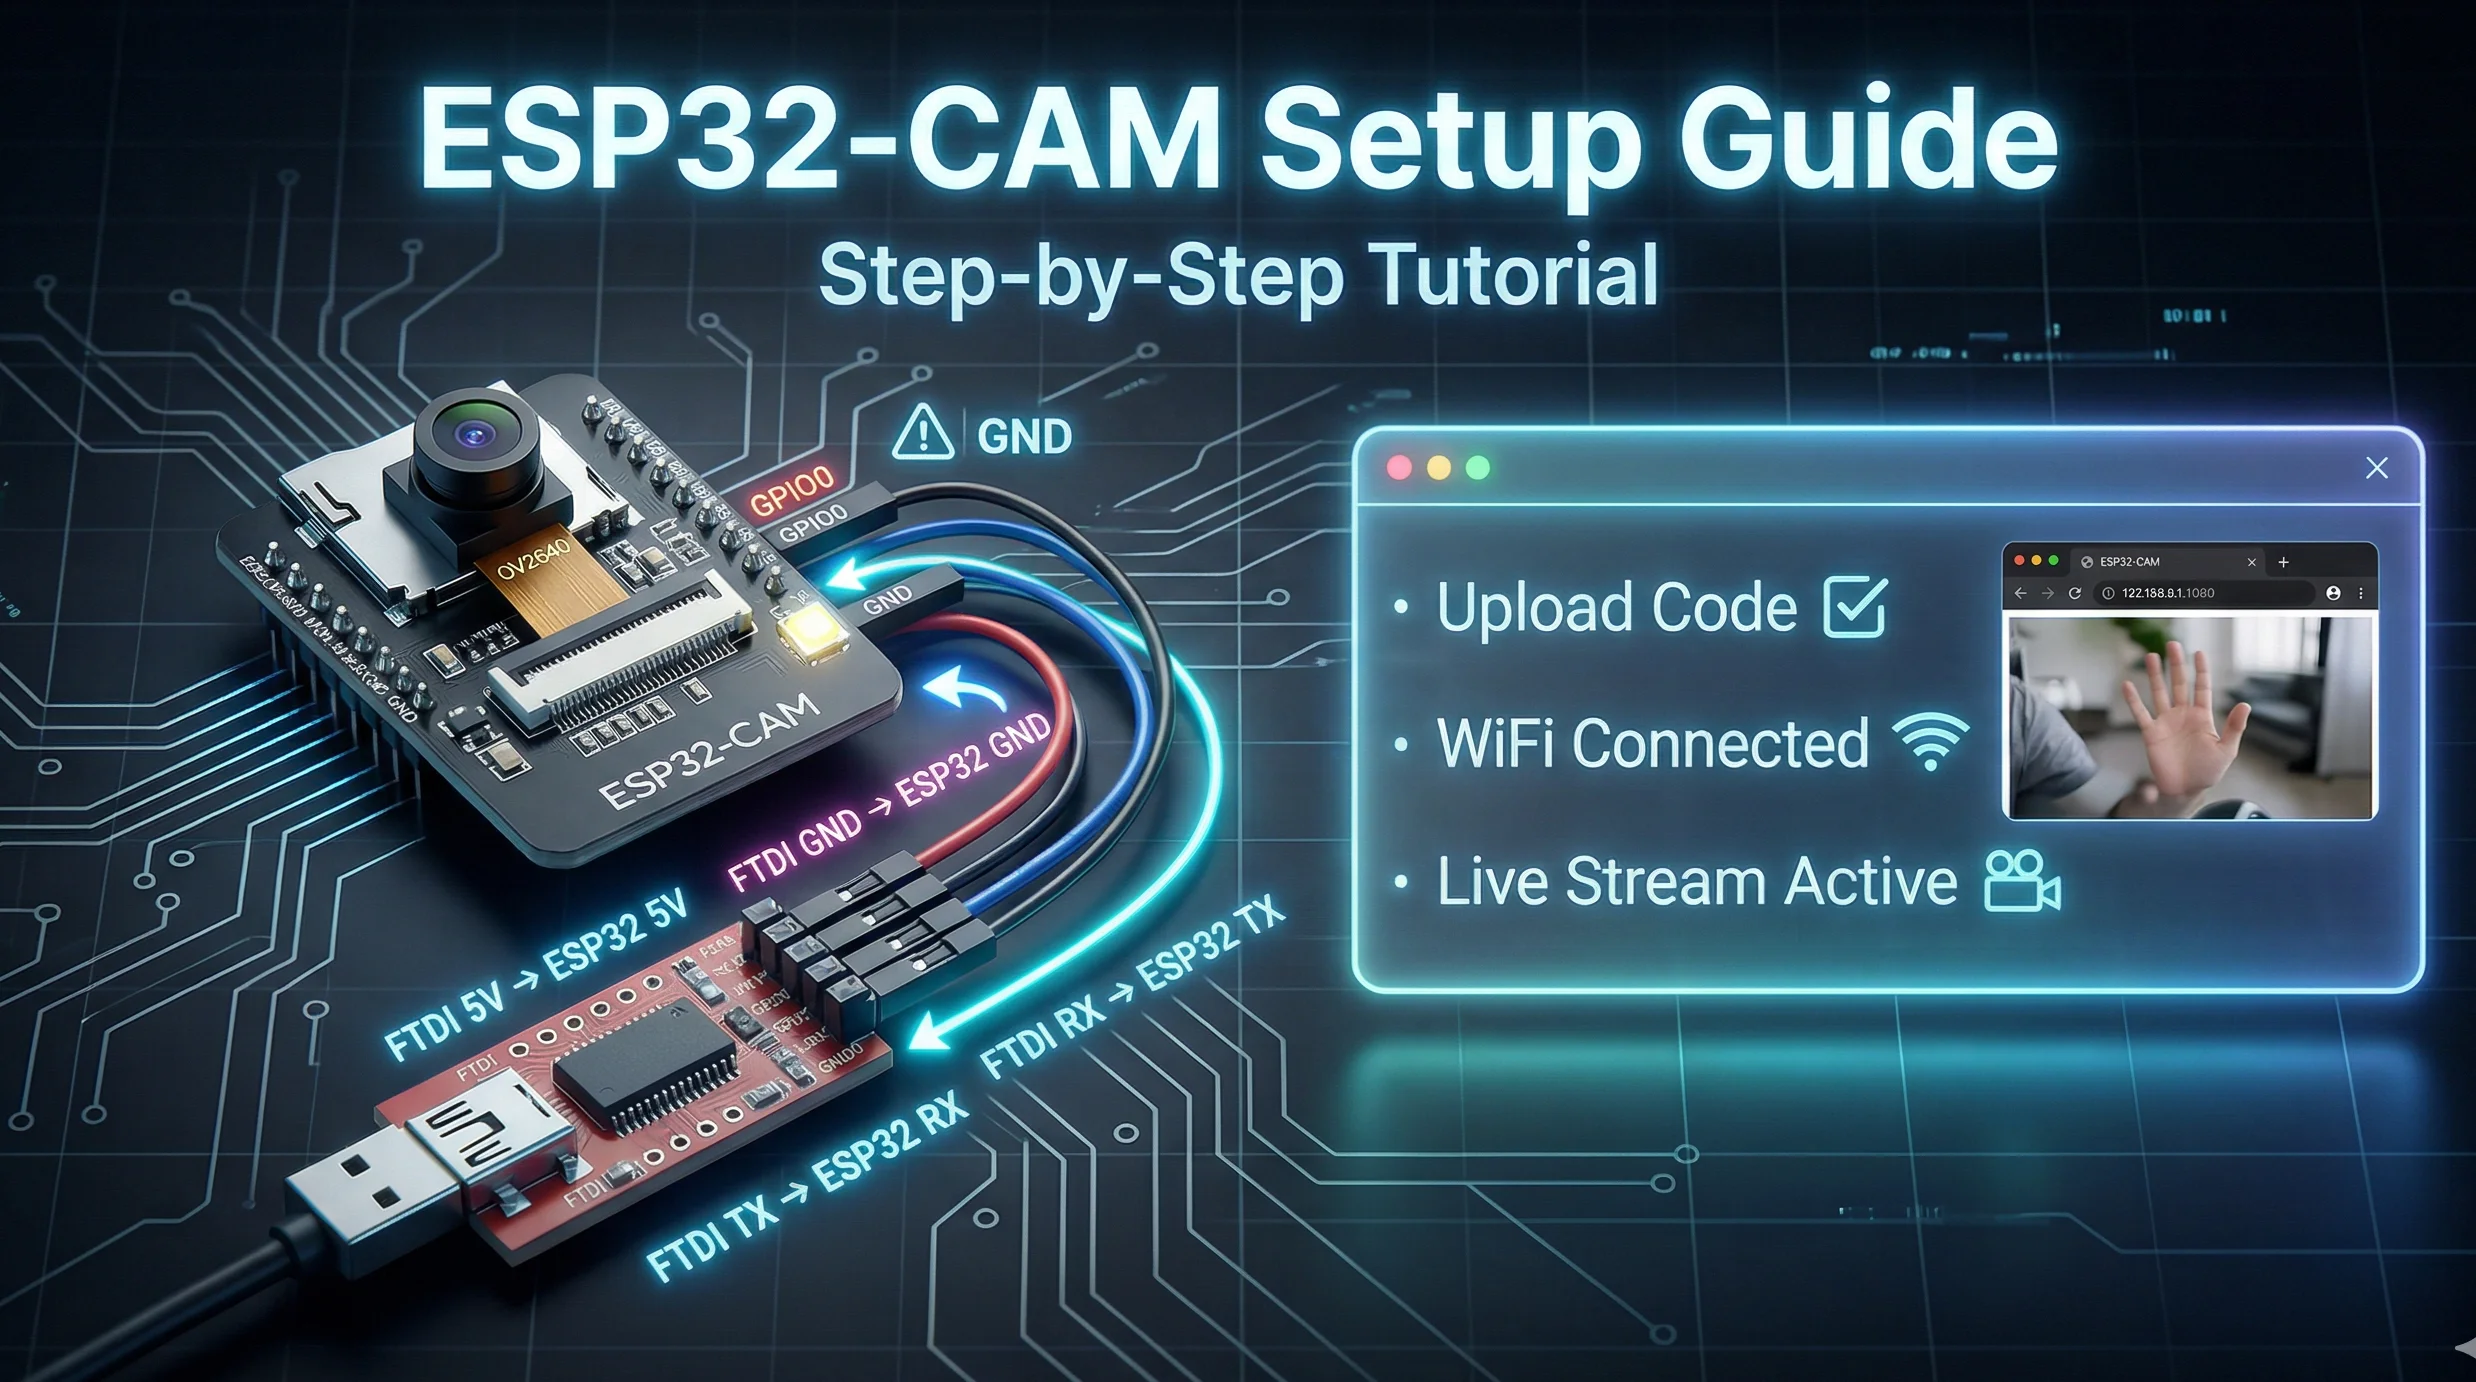
This is the most important wiring step. Connect your FTDI programmer to the ESP32 CAM using jumper wires. A typical connection looks like this:
FTDI Programmer  ->  ESP32 CAM Pin
5V               ->  5V
GND              ->  GND
RX               ->  U0T (GPIO1)
TX               ->  U0R (GPIO3)
GND              ->  GND (connect a second wire for stability)
Important: To put the board into programming mode, you need to connect the GPIO0 pin to GND before powering it on. Disconnect GPIO0 from GND to run your normal program.
Step 3: Upload Your First Code
Let's upload a basic example to test the camera.
- In Arduino IDE, select the board: Tools > Board > AI Thinker ESP32-CAM.
- Select the correct COM port.
- Go to File > Examples > ESP32 > Camera and open the CameraWebServer example.
- You'll need to enter your Wi-Fi credentials in the code. Look for these lines and fill in your details:
const char* ssid = "Your_WiFi_Name";
const char* password = "Your_WiFi_Password";- With GPIO0 connected to GND, click the Upload button. Once the upload is complete, disconnect the GPIO0 wire from GND and press the reset button on the ESP32 CAM.
Step 4: View the Camera Stream
Open the Serial Monitor in Arduino IDE (set baud rate to 115200). You should see the IP address printed (e.g., http://192.168.1.100). Type that address into your web browser, and you should see the live video feed from your camera!
Common Issues and Fixes
- Upload Fails / Board Not Detected: Double-check your wiring, especially the RX/TX connections. Ensure GPIO0 is grounded during upload.
- Brownout Error: The board needs more power. Use a good 5V/2A power supply directly to the 5V pin, not just from the FTDI programmer.
- No IP Address: Check your Wi-Fi credentials in the code. Make sure your 2.4GHz network is available (ESP32 doesn't connect to 5GHz).
What Can You Build With It?
The possibilities are fun! You can create a photo editor that processes images from the camera, or use it as a trigger for other tools. For instance, you could build a system that takes a picture and then uses our background remover tool's logic to process the image. You could also make a device that scans text using the camera and then formats it with our case converter.
Frequently Asked Questions
📚 Read Next


Can I power the ESP32 CAM with a power bank?
Yes, absolutely! A power bank is a great way to run the ESP32 CAM for portable projects. Just make sure it can provide a steady 5V output.
Do I always need the FTDI programmer?
You only need the FTDI programmer for the initial setup and when you want to upload new code. Once your program is running, you can power it directly with a 5V supply.
Why is my camera feed very slow or laggy?
This is usually due to slow Wi-Fi network speed or low signal strength. Try moving the module closer to your router. Also, in the CameraWebServer example, you can lower the frame rate or resolution for a smoother stream.
Where can I learn more about advanced projects?
A great place to start is the official Espressif documentation. For project ideas, websites like Hackster.io and Instructables have tons of community-made guides.