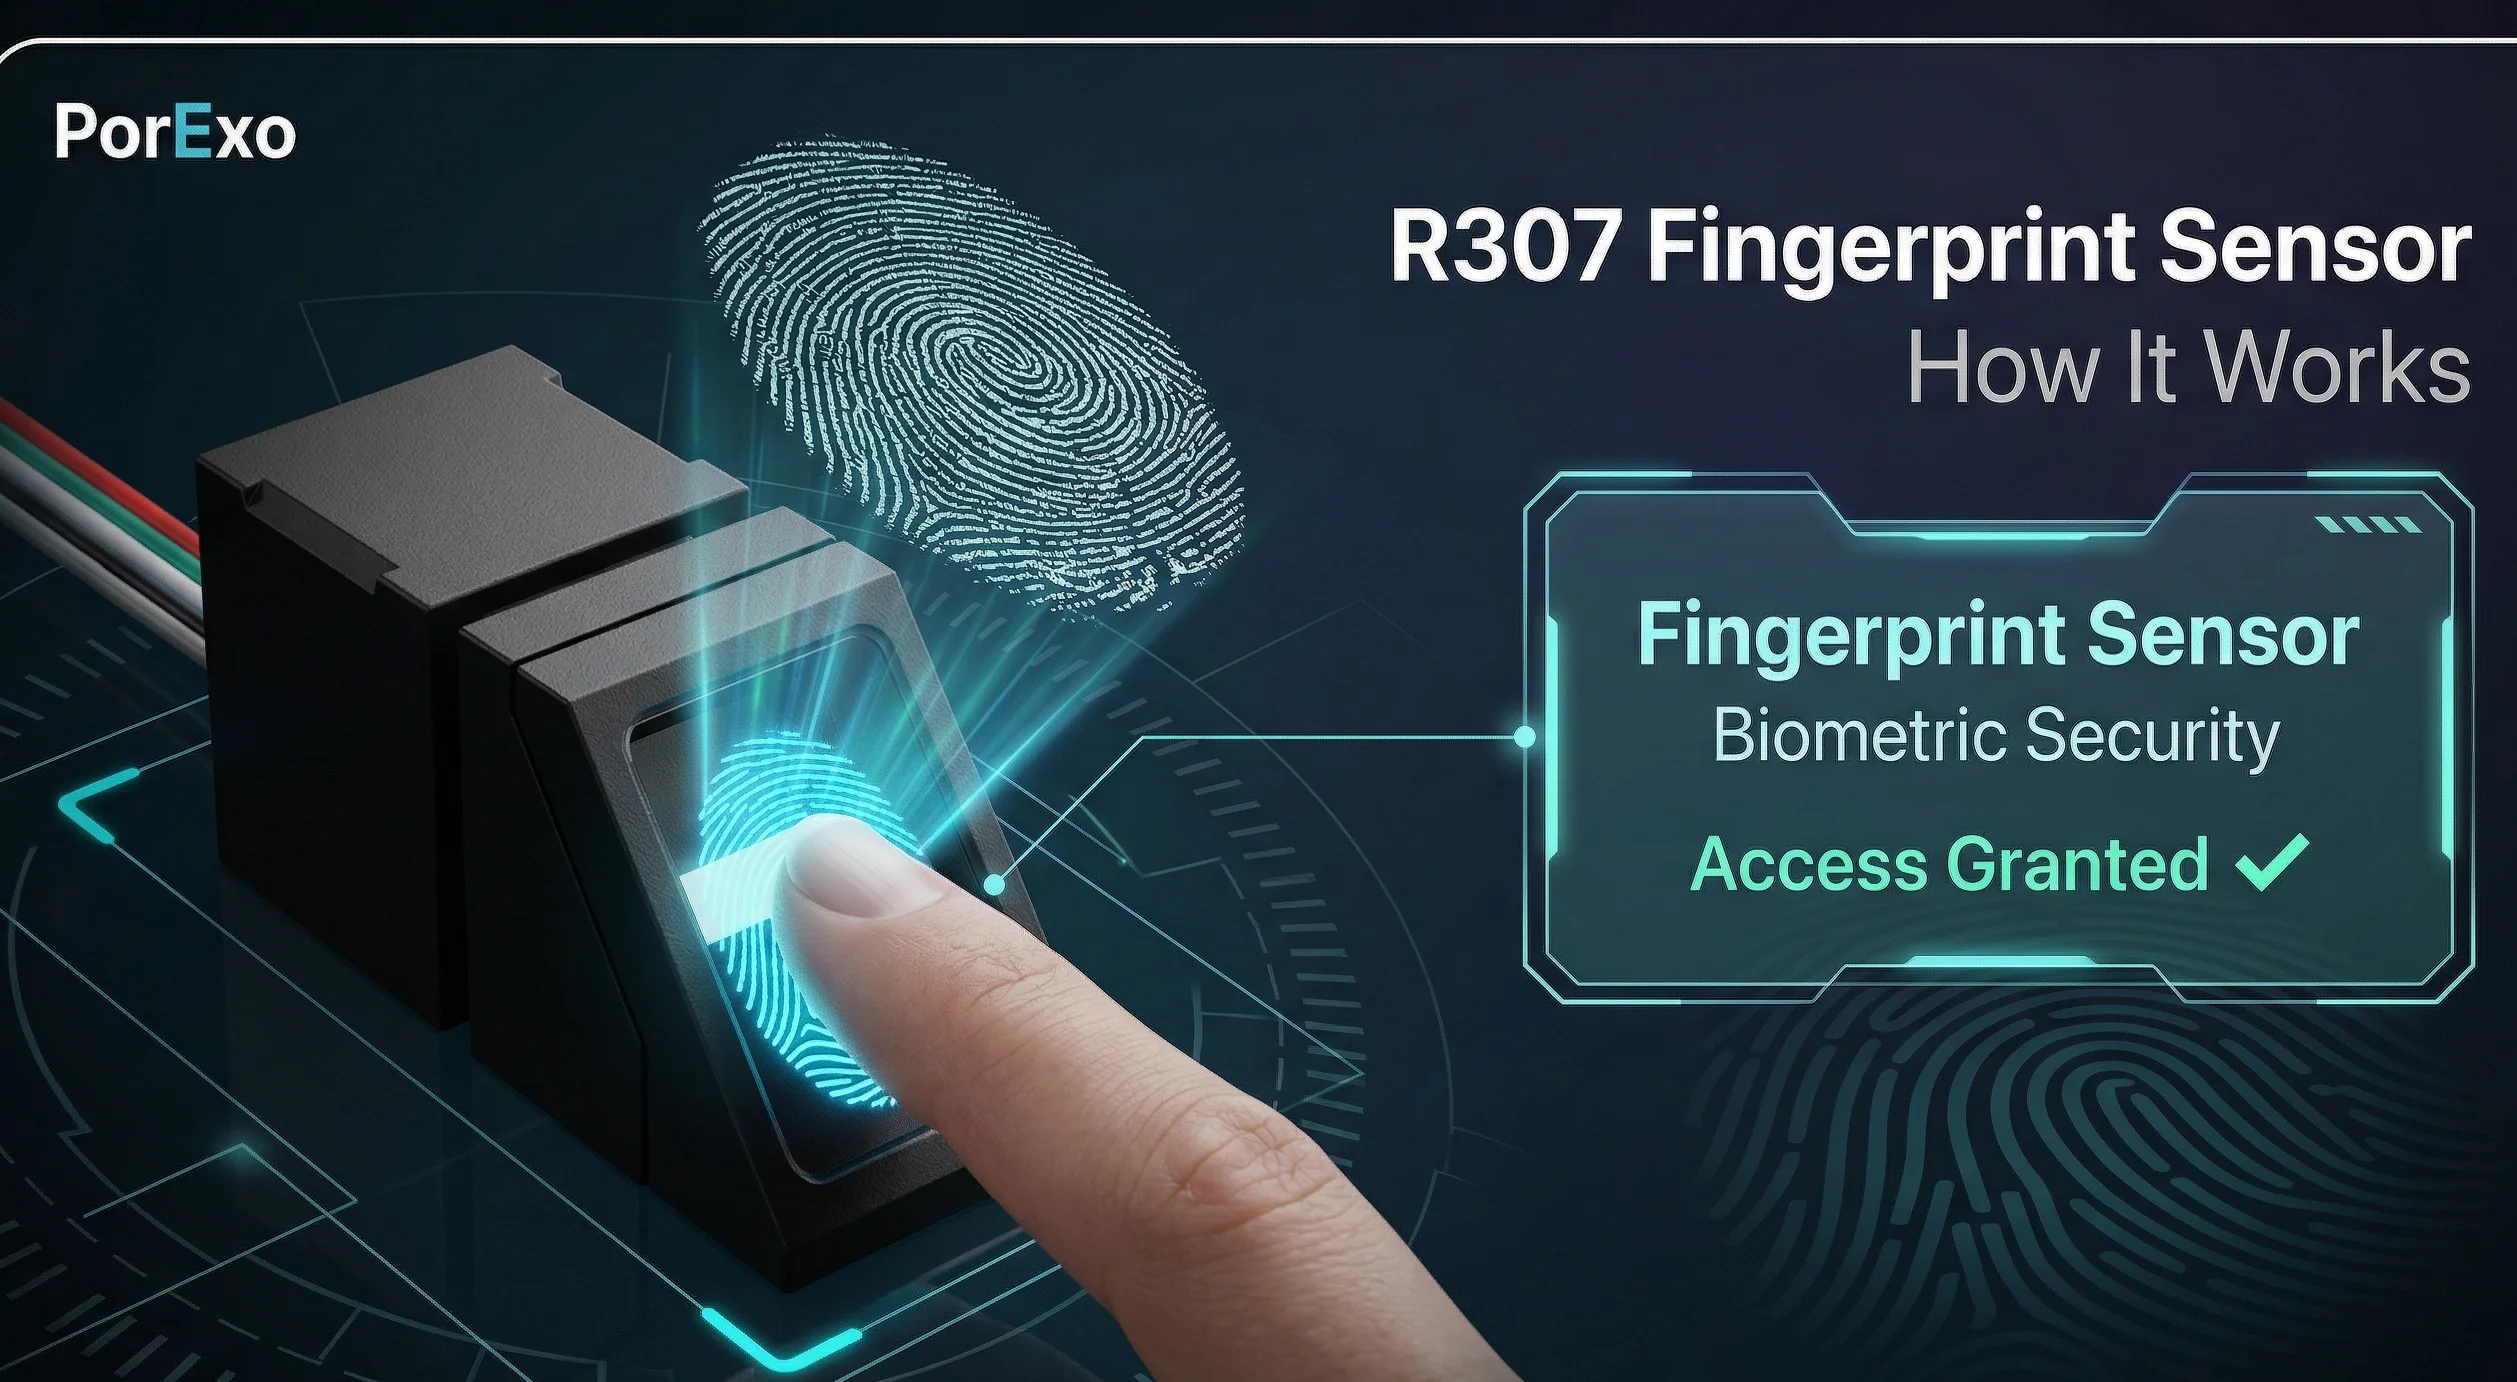
Arduino R307S एक fingerprint sensor module है। यह एक छोटा सा device है जो आपके उंगली के निशान (fingerprint) को पढ़ सकता है और पहचान सकता है। आप इसे अपने Arduino board या दूसरे microcontroller projects में लगाकर security door lock, attendance system, या कोई भी project बना सकते हैं जहाँ किसी व्यक्ति की पहचान करनी हो।
मुख्य बिंदु: इसे कैसे इस्तेमाल करें
अगर आपने अभी-अभी यह sensor खरीदा है, तो इसे चलाने के लिए कुछ basic steps follow करने होंगे। चिंता न करें, यह उतना मुश्किल नहीं है।
Handy Tools For You
- कंपैटेबिलिटी चेक करें: सबसे पहले यह देख लें कि आपका Arduino board (जैसे Uno, Nano, Mega) इस sensor के साथ काम कर सकता है। R307S UART communication का इस्तेमाल करता है, जो ज़्यादातर Arduino boards पर available होता है।
- फिंगरप्रिंट सेटअप: Sensor को इस्तेमाल करने से पहले, आपको उसे "सिखाना" होगा। इसका मतलब है कि आपको उसमें users के fingerprints store करने होंगे, ताकि बाद में वह उन्हें पहचान सके।
- लाइब्रेरी इनस्टॉल करें: Arduino के लिए काम आसान बनाने के लिए libraries होती हैं। आपको Arduino IDE में "Adafruit Fingerprint Sensor Library" install करनी होगी। यह library sensor के साथ communicate करने के लिए ज़रूरी functions provide करती है। आप इसे Porexo Tools जैसे resources से related tutorials में देख सकते हैं।
- कनेक्शन सेटअप: Sensor को Arduino से जोड़ना बहुत important है। आमतौर पर आपको चार wires connect करनी पड़ती हैं: VCC (Power), GND (Ground), TX (Transmit), और RX (Receive)। अपने sensor के datasheet को check करके सही pins जोड़ें।
- कोडिंग और टेस्टिंग: Library install होने के बाद, आप example code लोड करके test कर सकते हैं। पहले एक fingerprint enroll करके देखें, फिर उसे scan करके verify करें। Serial Monitor पर messages देखकर आप पता लगा सकते हैं कि सब कुछ ठीक से काम कर रहा है या नहीं।
// Arduino R307S के साथ Basic Connection Test का एक simple example
#include

// SoftwareSerial का इस्तेमाल करें अगर hardware UART pins busy हैं
#include
SoftwareSerial mySerial(2, 3); // RX, TX

Adafruit_Fingerprint finger = Adafruit_Fingerprint(&mySerial);

void setup() {
  Serial.begin(9600);
  while (!Serial); // Serial port का wait करें
  Serial.println("Fingerprint Sensor Test");

  // Sensor का baud rate set करें
  finger.begin(57600);

  if (finger.verifyPassword()) {
    Serial.println("Sensor मिल गया!");
  } else {
    Serial.println("Sensor नहीं मिला :(");
    while (1);
  }
}

void loop() {
  // यहाँ आप fingerprint read करने का code लिख सकते हैं
  delay(50);
}
इस code में, हमने sensor से connect होकर एक basic check किया है। finger.verifyPassword() function sensor से communication check करता है। अगर सब ठीक है, तो Serial Monitor पर "Sensor मिल गया!" message दिखेगा।
इससे क्या-क्या बनाया जा सकता है?
R307S sensor का इस्तेमाल करके आप कई practical projects बना सकते हैं। कुछ popular ideas हैं:
- स्मार्ट डोर लॉक: अपने घर के दरवाज़े पर लगाएँ। सही fingerprint scan होने पर ही lock खुलेगा।
- ऑफिस अटेंडेंस सिस्टम: Employees के आने-जाने का time record automatically maintain हो जाएगा।
- पर्सनल सेफ़्टी बॉक्स: एक box या locker जो सिर्फ़ आपके fingerprint से ही खुले।
- किसी project में authentication: मान लीजिए आपने एक robot बनाया है, तो आप उसे सिर्फ़ authorized users के लिए ही start होने दे सकते हैं।
अगर आपको images edit करके अपने project के लिए graphics बनाने हैं, तो Photo Editor tool मदद कर सकता है। और project documentation के लिए text format करने में Case Converter useful हो सकता है।
अक्सर पूछे जाने वाले सवाल (FAQs)
📚 Read Next


Arduino R307S fingerprint sensor कितने fingerprints store कर सकता है?
यह model आमतौर पर 1000 तक fingerprint templates store कर सकता है, जो ज़्यादातर छोटे-मध्यम projects के लिए काफ़ी है।
क्या यह sensor बारिश या नमी में काम करेगा?
नहीं, R307S waterproof नहीं है। इसे indoor use के लिए design किया गया है। अगर outdoor use करना है, तो इसे किसी covered enclosure में रखें।
अगर sensor Arduino से connect नहीं हो रहा है तो क्या करूँ?
पहले wiring double-check करें। फिर code में baud rate और serial pins सही हैं यह confirm करें। कभी-कभार library update या board restart से issue solve हो जाता है। Connection diagrams के लिए आप online resources check कर सकते हैं।
क्या मैं इस sensor को Raspberry Pi के साथ use कर सकता हूँ?
हाँ, आप कर सकते हैं। Raspberry Pi पर Python libraries available हैं जिनकी मदद से आप R307S को connect और control कर सकते हैं। Process थोड़ा अलग होगा, लेकिन concept वही रहेगा।