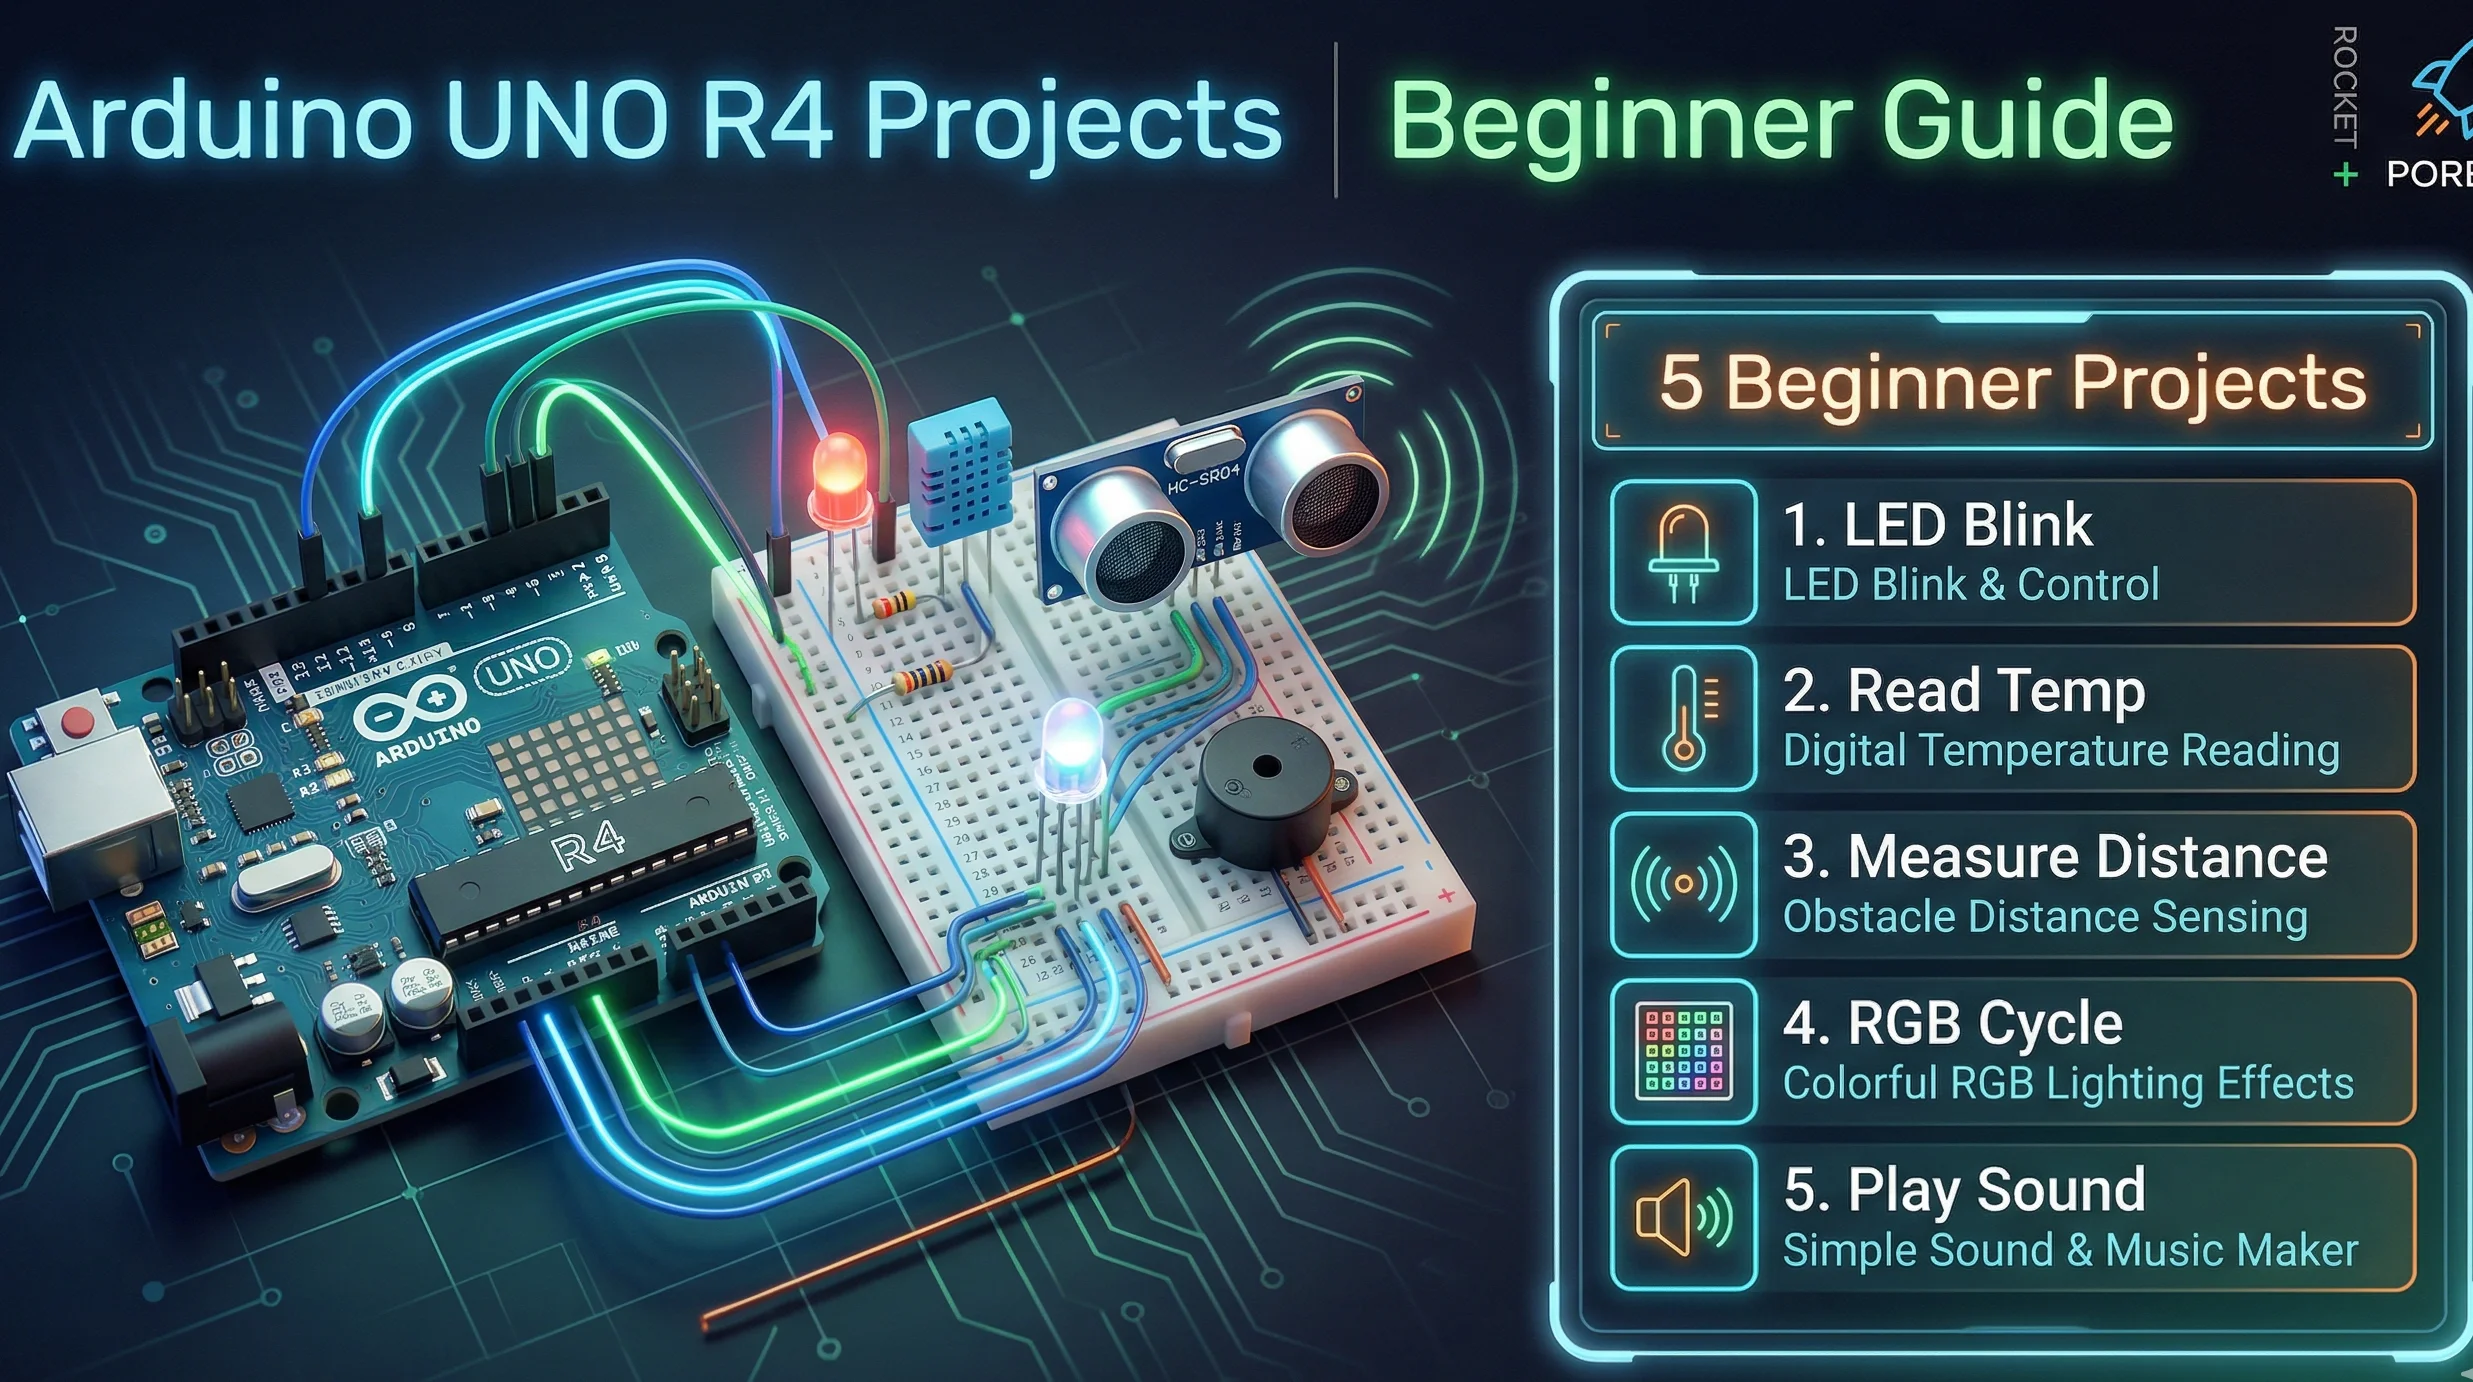
Welcome to the exciting world of Arduino UNO R4! Whether you're an electronics enthusiast, student, or hobbyist, the Arduino UNO R4 offers an incredible platform to bring your creative ideas to life. This Complete guide walks you through five engaging projects specifically designed for beginners, each building upon the previous to develop your skills systematically.
Why Start with Arduino UNO R4?
The Arduino UNO R4 represents the latest evolution in the popular UNO series, featuring enhanced processing power, improved connectivity options, and backward compatibility with existing shields and accessories. Its user-friendly IDE and extensive community support make it the perfect choice for electronics newcomers.
Handy Tools For You
Project 1: LED Blinking - Your First Circuit
Master the fundamentals of digital output with this classic starter project. You'll learn how to control an LED's behavior through programming, understanding concepts like pin modes, digital writes, and delay functions.
void setup() {
  pinMode(13, OUTPUT);
}

void loop() {
  digitalWrite(13, HIGH);
  delay(1000);
  digitalWrite(13, LOW);
  delay(1000);
}
Project 2: Temperature Monitoring System
Progress to analog input with a TMP36 temperature sensor. This project teaches you how to read sensor data, convert analog values to meaningful measurements, and display information on the serial monitor.
void setup() {
  Serial.begin(9600);
}

void loop() {
  int sensorValue = analogRead(A0);
  float voltage = (sensorValue / 1024.0) * 5.0;
  float temperature = (voltage - 0.5) * 100;
  Serial.print("Temperature: ");
  Serial.print(temperature);
  Serial.println(" °C");
  delay(1000);
}
Project 3: Ultrasonic Distance Measurement
Create a practical distance measuring tool using the HC-SR04 ultrasonic sensor. Learn about pulse timing, sensor interfacing, and calculating distances based on sound wave travel time.
const int trigPin = 9;
const int echoPin = 10;

void setup() {
  Serial.begin(9600);
  pinMode(trigPin, OUTPUT);
  pinMode(echoPin, INPUT);
}

void loop() {
  digitalWrite(trigPin, LOW);
  delayMicroseconds(2);
  digitalWrite(trigPin, HIGH);
  delayMicroseconds(10);
  digitalWrite(trigPin, LOW);

  long duration = pulseIn(echoPin, HIGH);
  float distance = duration * 0.034 / 2;
  Serial.print("Distance: ");
  Serial.print(distance);
  Serial.println(" cm");
  delay(500);
}
Project 4: RGB LED Color Mixing
Explore the world of color with an RGB LED. This project introduces PWM (Pulse Width Modulation) for analog output control, allowing you to create millions of color combinations by mixing red, green, and blue light.
int redPin = 9;
int greenPin = 10;
int bluePin = 11;

void setup() {
  pinMode(redPin, OUTPUT);
  pinMode(greenPin, OUTPUT);
  pinMode(bluePin, OUTPUT);
}

void setColor(int red, int green, int blue) {
  analogWrite(redPin, red);
  analogWrite(greenPin, green);
  analogWrite(bluePin, blue);
}

void loop() {
  setColor(255, 0, 0); // Red
  delay(1000);
  setColor(0, 255, 0); // Green
  delay(1000);
  setColor(0, 0, 255); // Blue
  delay(1000);
}
Project 5: Buzzer Melody Creation
Combine your skills to create musical tones and melodies. Learn about frequency generation, timing, and creating simple songs using a piezo buzzer.
int buzzerPin = 8;

void setup() {
  pinMode(buzzerPin, OUTPUT);
}

void playTone(int frequency, int duration) {
  tone(buzzerPin, frequency, duration);
  delay(duration);
}

void loop() {
  playTone(262, 500); // C4
  playTone(294, 500); // D4
  playTone(330, 500); // E4
  playTone(349, 500); // F4
  playTone(392, 500); // G4
  playTone(440, 500); // A4
  playTone(494, 500); // B4
  playTone(523, 500); // C5
  delay(2000);
}
Essential Tools and Components
To complete these projects, you'll need an Arduino UNO R4 board, USB cable, breadboard, jumper wires, LEDs, resistors, TMP36 temperature sensor, HC-SR04 ultrasonic sensor, RGB LED, and piezo buzzer. Most starter kits include these components.
Getting Started Tips
Always double-check your circuit connections before powering up. Start with simple modifications to the provided code to understand how changes affect behavior. Don't hesitate to consult the extensive Arduino documentation and community forums when you encounter challenges.
📚 Read Next


What's the difference between Arduino UNO R4 and previous versions?
The Arduino UNO R4 features a more powerful 32-bit ARM Cortex-M4 processor, increased memory, built-in Wi-Fi connectivity (in the Wi-Fi version), and enhanced power management while maintaining full compatibility with UNO R3 shields and accessories.
Do I need prior programming experience to start with Arduino?
No prior programming experience is necessary. Arduino uses a simplified version of C++ that's easy to learn, and countless tutorials and examples are available online. The projects in this guide start with basic concepts and gradually introduce more advanced techniques.
What software do I need to program Arduino UNO R4?
You need the Arduino IDE (Integrated Development Environment), which is available for free download from the official Arduino website. The IDE includes everything needed to write, compile, and upload code to your Arduino board.
Can I power my Arduino projects with batteries?
Yes, Arduino UNO R4 can be powered by batteries through the DC power jack (7-12V) or Vin pin. For portable projects, a 9V battery with appropriate connector or rechargeable battery packs work well.
Where can I find additional project ideas and support?
The Arduino Project Hub, official documentation, and community forums are excellent resources. Many online platforms like Instructables, GitHub, and YouTube also offer thousands of Arduino project tutorials for all skill levels.