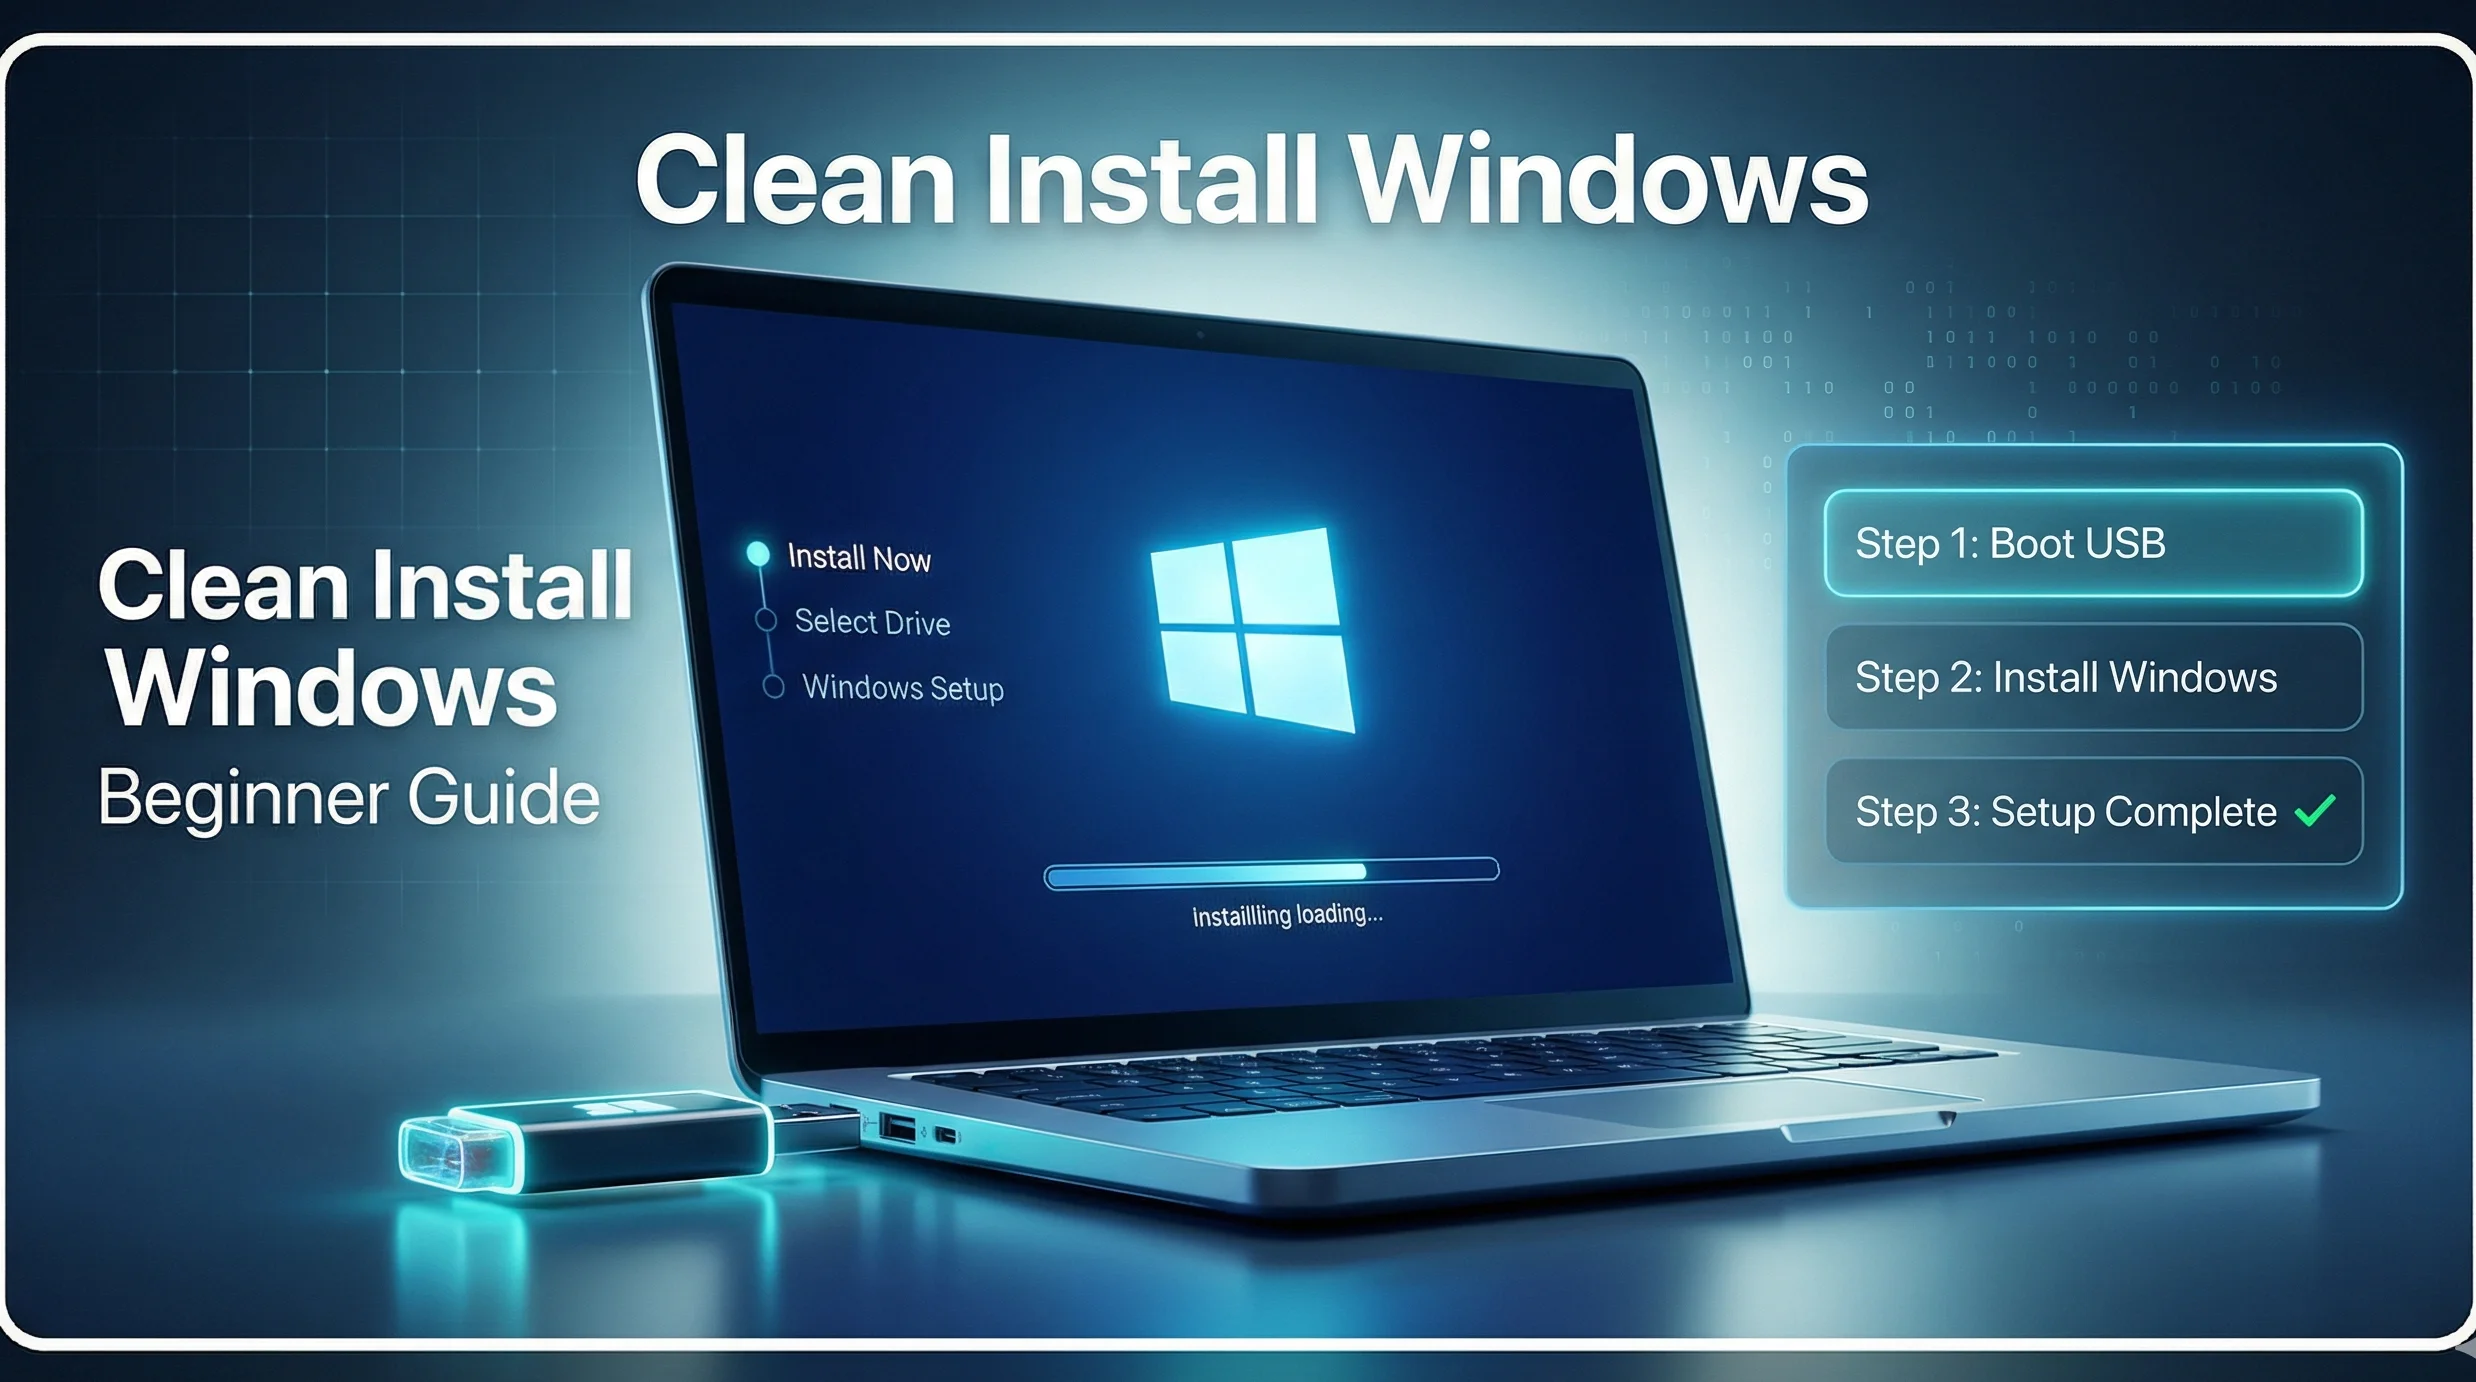
If your computer is running slow, has a virus, or you're setting up a new drive, a clean install of Windows can feel like a fresh start. It's like giving your PC a brand new beginning. Let's walk through it step-by-step.
What is a "Clean Install"?
A clean install means you're putting a completely new copy of Windows onto your computer. It wipes the old system clean, removing all your programs, settings, and files from the drive you install it on. This is different from an "upgrade," which keeps your files.
Important: Because it erases everything, backing up your data is the most crucial step.
What You'll Need Before You Start
- A computer with internet access to download the Windows installer.
- A USB flash drive with at least 8GB of space.
- All your important files backed up to an external hard drive or cloud service.
- Your Windows product key (if you have one). It's often on a sticker on your PC or in your email if you bought Windows digitally.
Step-by-Step Installation Guide
Step 1: Back Up Everything Important
This cannot be stressed enough. Copy your documents, photos, videos, and any other files you can't lose to a safe place. Also, make a list of the programs you'll need to reinstall later.
Step 2: Create a Bootable USB Drive
You need to put the Windows installer files onto your USB drive. Microsoft provides a free tool for this.
- On a working computer, go to the official Microsoft Windows 10 download page or the Windows 11 download page.
- Download the "Media Creation Tool."
- Run the tool, accept the license terms, and select "Create installation media (USB flash drive, DVD, or ISO file)."
- Choose your language and edition, then select "USB flash drive." The tool will download Windows and make your USB drive bootable.
Step 3: Boot Your Computer from the USB Drive
Now, you need to tell your computer to start up from the USB drive instead of its hard drive.
- Plug the USB drive into the computer you want to install Windows on.
- Restart the computer.
- As it starts, press the key to enter the "boot menu" or "BIOS/UEFI settings." This key is often F12, F2, ESC, or DEL. You might see a message like "Press F12 for boot options" when the computer first turns on.
- In the boot menu, select your USB drive to start from it.
Step 4: Install Windows
Once booted from the USB, the Windows setup screen will appear.
- Choose your language and click Next, then Install now.
- If asked for a product key, you can enter it or click "I don't have a product key" to enter it later.
- Select the Windows edition you want (like "Windows 11 Home") and accept the license terms.
- On the "Which type of installation do you want?" screen, choose Custom: Install Windows only (advanced).
Step 5: Select and Format the Drive
This is the part where you erase the old drive.
- You'll see a list of drives and partitions. Select the main drive (usually "Drive 0") where your old Windows is installed.
- Click Delete for each partition on that drive until it shows as one large block of "Unallocated Space." (Warning: This permanently deletes all data on that drive.)
- Select the "Unallocated Space" and click Next. Windows will create the necessary partitions and begin installing.
Step 6: Complete the Setup
The computer will restart a few times. After the main files are copied, you'll go through the "out of box experience" (OOBE):
- Choose your region and keyboard layout.
- Connect to your Wi-Fi network.
- Sign in with your Microsoft account or create a local account.
- Set up privacy settings and wait for final preparations.
And that's it! You'll be taken to your fresh, clean Windows desktop.
What to Do After Installation
- Install Drivers: Go to your PC manufacturer's website (like Dell, HP, Lenovo) and download the latest drivers for your model, especially for graphics and network.
- Run Windows Update: Go to Settings > Windows Update and install all available updates.
- Reinstall Your Programs: Start installing your essential software like web browsers, office suites, etc.
- Restore Your Files: Copy your backed-up documents and photos back to your computer.
Frequently Asked Questions
📚 Read Next


Will a clean install delete all my files?
Yes, if you install Windows on the same drive where your old files are. That's why backing up everything to an external drive or cloud service before you start is absolutely essential.
Do I need to buy Windows again for a clean install?
Usually, no. Most modern PCs have a digital license tied to the motherboard. During setup, if you skip entering a key, Windows should automatically reactivate once you're online. If you have a retail product key, you can enter that.
What's the difference between "Reset this PC" and a clean install?
"Reset this PC" is a built-in Windows tool that reinstalls Windows from files already on your computer. A clean install from a USB uses the latest files directly from Microsoft and gives you more control, like wiping the drive completely. The USB method is often more reliable for solving serious problems.
I'm stuck on the boot menu step. What should I do?
If pressing F12 or DEL doesn't work, search online for "[Your PC Brand] boot menu key." Common keys are F12 for Dell, ESC for HP, and F2 for many others. You might also need to go into BIOS/UEFI settings (often F2 or DEL) and change the "boot order" to put the USB drive first.
Need Help with Other Computer Tasks?
If you're working with files and images, Porexo has some great free tools that can help. For example, if you need to organize pictures after your fresh install, you can use the Image Resizer to adjust their size. To combine several images into one document, try the Image to PDF Converter. And if you have a PDF that's too large to email, you can Compress PDF files easily. Check out all the handy utilities on the Porexo Tools page.
Remember, a clean install might seem a bit technical, but by following these steps carefully, you can do it. Take your time, double-check your backup, and enjoy your faster, cleaner Windows system!